This project started when my wife snagged her sweater on one of the canopy bolts. I looked for ready made vinyl caps and was unsuccessful finding ones that looked right. It seemed like a lot of work to make my own but I like to tinker so why not.
My printer is an Ender 3.
I am using a PEI build plate with a slurry to insure good adhesion.
The filament I used was FilaBees ASA, but any good ASA should be fine.
I have included the single cap .stl plus Gcode for a single cap and another Gcode for making 20 at a time.
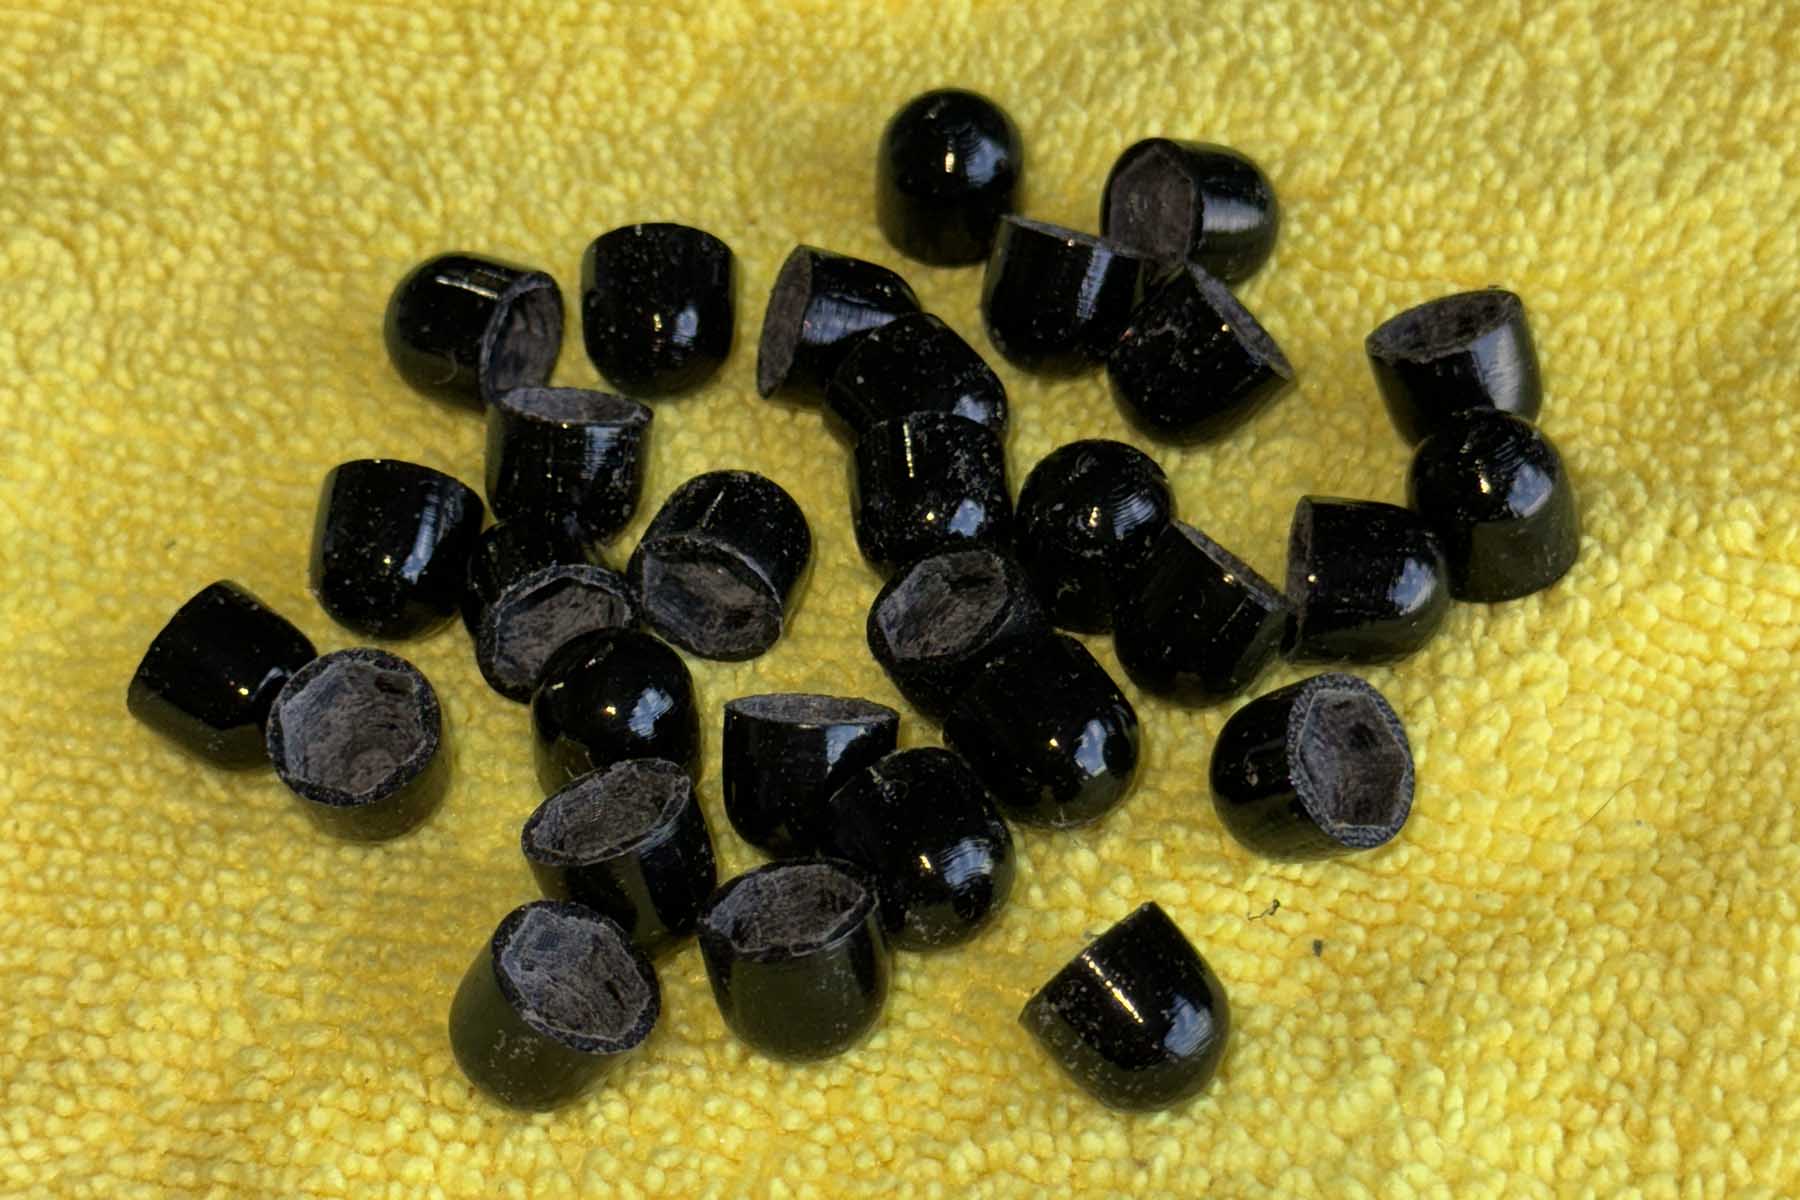
The caps after printing have the typical “printed” surface and need to be cleaned up. My method to finish them is as follows. Start by cleaning up the inside of the cap using a dremel with a 1/16 diamond tip. Check the fit onto a bolt / nut setup. It doesn’t need to be tight but shouldn’t fall off easily. I use a cordless drill with a cut off 6/32 bolt and the same nut that is on the canopy. Put the cap on the drill and spin it. Using a piece of 220 sandpaper by hand, smooth out the cap so no ridges show. Finish sanding with 400 sandpaper, again while spinning it. Next wet the corner of a microfiber towel with acetone, and lightly touch the cap while it is spinning at medium speed. This will put a super gloss on it. Allow to dry for 1 minute before touching.
To install use clear silicone glue, put a small drop inside the cap near the inner hole and install.
Totals; to cover the canopy nuts, cockpit area (26), rear lip of canopy (24), and baggage area window (35).


